

Setting up efficient workflows with ESLint, Prettier and Husky
Learn how to use ESLint Prettier and Husky for code analysis, formatting and automation | a step by step guide


Linting and pretty-printing JavaScript code can help in detecting errors earlier, making code more legible, and improving overall code quality. However, there may be some friction when using a formatter for pretty-printing and a linter.
In this article we'll learn how to configure ESLint, Prettier and Husky with lint-staged and use them together to automatically fix and format code in the command line and in VS Code.
Tools of the Trade 🧰
Any software engineer, regardless of their level of experience, can have a bad day and inadvertently introduce changes that cause bugs or simply do not fit into good code development practices.
Fortunately, there are several ways to safeguard your JavaScript project against such attacks. And first thing that comes to mind is the use of various types of tests. Of course, they are the most effective method, but we'll get to that later in this article.
Instead of testing the application's functionality to protect your software project from unintentional developer errors, we'll concentrate on the code itself.
1. Dependencies
ESLint is a lint that detects and reports on patterns in ECMAScript/JavaScript code. Lints, also known as linters, are tools that are used to flag programming errors, bugs, stylistic errors, and suspicious constructs in order to reduce errors and improve the overall quality of your code. In some cases, they can detect those errors and auto-correct them for you.
ESLint is a popular open-source lint that works best with JavaScript and TypeScript, and it allows us to configure and customize it to our needs by specifying your own rules or extending standardized rules from companies such as Google, Airbnb, and others.
Prettier is an opinionated code formatter that styles code consistently and is easier to use. it supports HTML, CSS, Javascript, and most of their libraries.
Husky is a tool that lets us work with Git hooks. Git hooks are scripts that can be configured to run at specific points in the Git lifecycle, we'll be using Husky to run ESlint and Prettier as our pre-commit hook to ensure that no one can commit if their code violates our rules.
Creating pre-commit and configuring Husky can be difficult to set up and share across the team, so we will be using lint-staged, a tool that installs Husky and configures everything for you, and you only specify scripts to run on every commit.
To install all your dependencies, use the following command (as a dev dependency):
yarn add -D eslint eslint-plugin-react husky lint-staged prettier
# or
npm i -D eslint eslint-plugin-react husky lint-staged prettier
2. Scripts
Add this to your package.json:
{
  "scripts": {
    "format": "prettier --write .",
    "prepare": "husky install"
  },
  "lint-staged": {
    "**/*": "prettier --write --ignore-unknown"
  },
}
You can now run npm run format to prettify your existing codebase.
What you did here: Husky adds a git commit hook so that lint-staged only runs Prettier on new stuff that you stage in git.
3. Prettier Settings
Now we’ll configure our formatter. To do this, we will use two files: .prettierrc.json that contains the configuration and .prettierignore where we can list files and folders that Prettier should skip (this file works in the same way as .gitignore).
Use the Prettier Playground to decide on what settings your team wants.
In the root folder create a file named .prettierrc.json this will contain custom rules/options that you may want prettier to follow while formatting your code, enter the following code in your .prettierrc.json:
{
    "arrowParens": "always",
    "bracketSpacing": false,
    "embeddedLanguageFormatting": "auto",
    "htmlWhitespaceSensitivity": "css",
    "insertPragma": false,
    "jsxBracketSameLine": false,
    "jsxSingleQuote": false,
    "printWidth": 80,
    "proseWrap": "preserve",
    "quoteProps": "as-needed",
    "requirePragma": false,
    "semi": true,
    "singleQuote": false,
    "tabWidth": 2,
    "trailingComma": "es5",
    "useTabs": false,
  }
4. ESLint configuration
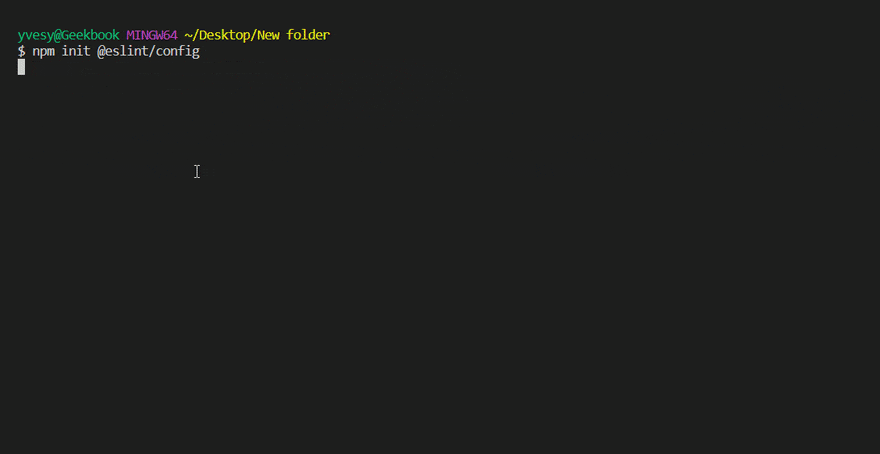
Create an ESLint config and check off whatever specifications you'd like for your project.
npm init @eslint/config
You will need to answer some questions about how you would like to use ESlint:
module.exports = {
    "env": {
        "browser": true,
        "es2021": true,
        "node": true
    },
    "extends": [
        "eslint:recommended",
        "plugin:react/recommended"
    ],
    "parserOptions": {
        "ecmaFeatures": {
            "jsx": true
        },
        "ecmaVersion": 12,
        "sourceType": "module"
    },
    "plugins": [
        "react"
    ],
    "rules": {
        "react/prop-types": [0, {}],
        "react/no-unescaped-entities": [0, {}],
        "no-unused-vars": [1, {}],
    }
};
Here I use config plugin:react/recommended for my favorite tool - React, but you can edit it based on your preferences. Also I would recommend to enable ESLint VSCode plugin to see feedback in your editor.
5. Automation 🤖
Finally, let's automate the use of both of these tools to improve our workflow. That will be handled by Husky. It's a tool that allows for integration with Git hooks.
Git hooks allow you to run any script in response to various Git version control system actions. To keep things as simple as possible, we'll use the lint-staged project, which will streamline this process while also introducing one more important optimization.
To read more on how exactly this tool works, I encourage you to browse the GitHub page of the project.
If you didnt configured your package.json in scripts section, now after installing lint-staged, we must add its configuration to package.json. It consists of JSON, which uses a file name (or a regex that defines a group of files) as a key. It accepts a string containing the command to be executed, or an array of strings if there are several such commands.
If you created your application through the CRA, lint-staged most likely only configured Prettier for you. As a result, as shown in the example below, we'll add the linter to the lint-staged configuration.
...,
"lint-staged":{
    "**/*.{js,jsx,ts,tsx}":[
      "npx prettier --write",
      "npx eslint --fix",
    ]
  }
Bonus
There is another plugin that you can use with ESLint to help you with the dependencies array that React Hooks have. This plugin will help control UI updates. It will read your code and point out if you're missing any dependencies.
To set it up, install the plugin in your project:
$ npm install -D eslint-plugin-react-hooks
# or
$ yarn add -D eslint-plugin-react-hooks
Further reading
A better understanding of how ESLint works and why certain constructs are marked as warnings or bugs will lead to a better understanding of JavaScript and introduce you to some good rules to follow when writing projects.
As you might expect, what I've covered in this article is only the tip of the iceberg, particularly in terms of code formatting and automation and the possibilities it provides. Here are some interesting links to help you expand your knowledge on this subject:
Conclusion
That's all there is to it! You just set up ESLint Prettier and Husky in your project, so the next time you work on a team or an open-source project, your code quality will be guaranteed!
Prettier and ESLint work extremely well together with Husky. It does require some configuration, but that should be simple after reading this article!
I hope you enjoy and happy coding! 🥑💖